Getting your little ones to eat healthy can seem like an impossible feat. For some reason, kids think that anything green is out of the question for them to even consider tasty (or edible for that matter). Luckily, we have a few tricks up our sleeves to get your picky little eaters to not only try healthy food but like it! From snack time to dinner time, you’ll be loving every minute with your healthy-eating kiddos.
Copy Cat
Chances are, your kids love to be just like Mommy or Daddy, so set an example for them! If your kids see you eating the food and drinks that you want them to eat, then they are likely to follow your every move. If your kids see you snacking on cookies and soda, they are certainly going to want to indulge in that! Instead, make your own snacks and meals full of healthy options so that they will want to eat just like you!
Get Them Involved
Kids love activities, and are generally quite proud of their little tasks and projects that you set out for them. With that in mind, your kids will love it when you include them on the grocery shopping and cooking. Take them to the grocery store and have them pick out their favorite colored fruits and veggies in the produce aisle. Then, when at home, get them involved in the cooking for snacks, dinner, and even dessert.
My cookbook Food for Life has fantastic healthy and easy recipes that are perfect for introducing healthy cooking to your kids. It has everything from healthy snacks for kids, to incredible desserts that are delicious and healthy, ensuring that you are giving your kids a special treat without the added sugar or calories.
If you’re looking for a great starter recipe that is sure to get the kids excited to make, my Golden Flax and Honey Pancakes with Strawberry Syrup recipe is full of flavor, fun, and easy to make. Take a look!
PrintGOLDEN FLAX AND HONEY PANCAKES WITH STRAWBERRY SYRUP
- Total Time: 20 minutes
- Yield: 10 pancakes 1x
- Category: Breakfast
Ingredients
- Cup-for-cup replacement gluten-free flour blend, such as Steve’s GF Cake Flour, if needed
- 1 cup millet flour
- 1 cup oat flour
- 3/4 tsp sea salt
- 1 tbsp baking powder
- 2 tsp baking soda
- 2 tsp golden flax meal
- 2 cups fresh strawberries
- 1/2 cup water
- 1 tsp fresh lemon juice
- 1/2 cup pure maple syrup
- 1 cup Any-Morning pancake mix
- 1 large egg
- 1 tsp pure vanilla extract
- 1 1/4 cups buttermilk (plus more if needed)
- 1 tbsp unsalted butter or unrefined coconut oil (melted, plus more for the pan)
- 1 tbsp honey
Instructions
- Place the gluten-free flour, millet flour, oat flour, and salt in a large bowl and whisk to combine. Sift in the baking powder and baking soda and whisk to distribute them evenly. Add the flax meal and whisk again, making sure the ingredients are well blended. The mix can be stored in a glass jar in the refrigerator for up to 1 month or put in a freezer bag and frozen for up to 3 months (use it straight from the freezer).
- To make the strawberry syrup: Combine the strawberries, water, and lemon juice in a blender and blend until smooth. Pour into a small saucepan and stir in the maple syrup. Bring to a boil over high heat, then reduce the heat to medium and cook for 3 to 5 minutes, until the mixture thickens slightly and coats the back of a spoon. Remove from the heat and serve the syrup hot, warm, or cold. (Leftovers are great over plain yogurt or ice cream.)
- To make the pancakes: Place the pancake mix in a medium bowl. In a large bowl, whisk together the egg, vanilla, and buttermilk. In a separate small bowl, whisk together the melted butter and honey, then add to the buttermilk mixture and whisk to incorporate. Add the pancake mix to the wet ingredients and whisk to combine. You’re looking for a batter that’s mediumthick in consistency and not runny. Adjust the consistency as needed by adding more buttermilk to thin the batter or more glutenfree flour to thicken the batter. (Note that the batter will thicken as it sits.)
- Heat a large griddle over medium heat and lightly grease the surface with a bit of butter. When the butter begins to sizzle, spoon (rather than pour) ¼ cup of the batter onto the pan and spread it with the spoon or the bottom of a flat dry-measuring cup into a round. Repeat to fill the pan, but do not overcrowd the pancakes. Cook for 3 to 4 minutes, until bubbles begin to form on top of the pancakes, then flip them using a metal spatula. Cook for 2 to 3 minutes more, until the edges appear dry. Reduce the heat if the pancakes are cooking too fast. Transfer finished pancakes to a heatproof plate and keep warm in a low oven until ready to serve. Repeat with the remaining batter.
- Serve with the strawberry syrup alongside.
Have Healthy Snacks Readily Available
When the little ones are hungry, there’s no stopping them. Sometimes the quickest and most convenient snack options are easily the worst options for them. Chips, cookies, soda, candy – they’re always so easy to find and probably the closest option when you are in a rush. While we’ve all been there, it’s okay to have a slip up every once in a while. We can’t be ashamed by our crazy, busy life. However, it helps if you plan ahead. There’s no doubt your kids will fall hungry and ask for a snack throughout the day. It’s best to prepare for when that moment comes and have healthy snack options readily available. Stock your fridge or pantry with healthy snack options that are easily accessible for the kids to reach. Or if you’re in the mood to make some, I have a whole chapter in my cookbook dedicated to healthy snack options that are easy and satisfying titled On the Move: Easy, Satisfying Snacks.
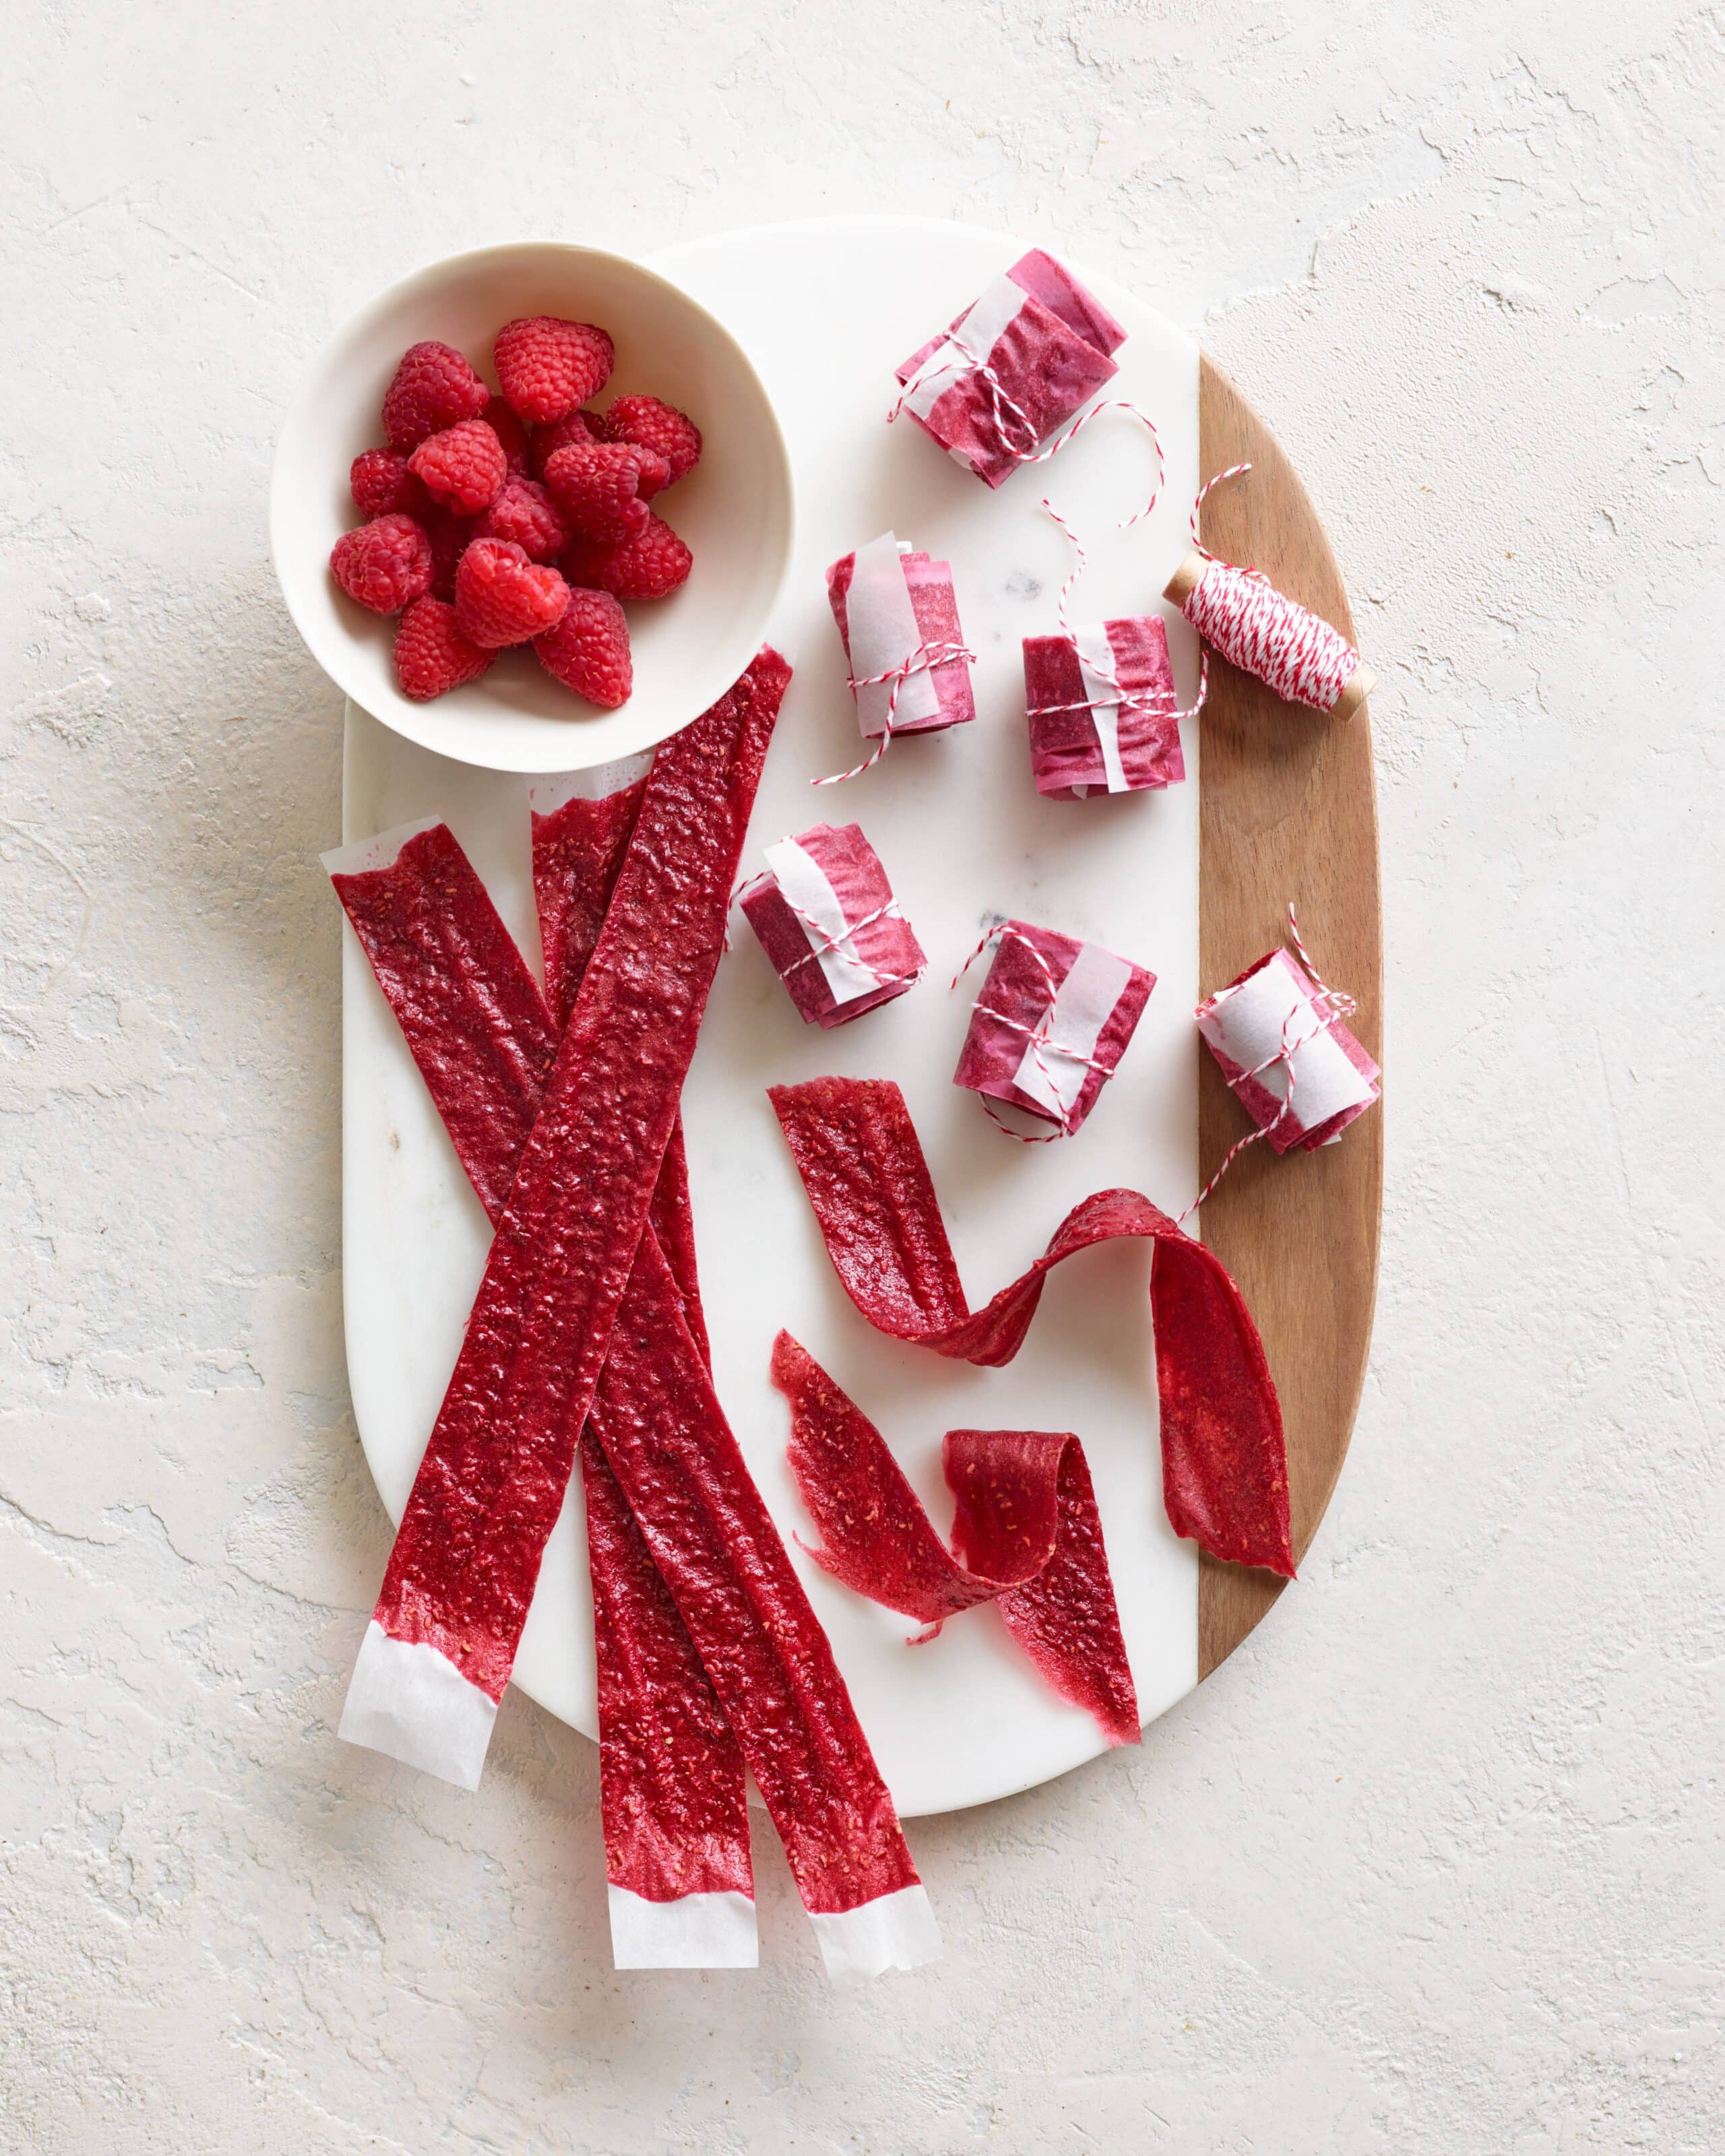
My Any Berry Fruit Leather recipe in my cookbook is a kid-favorite snack option. Don’t you remember those Fruit by the Foot snacks by General Mills? This healthy, homemade version is easy to whip up and super portable for when you’re on the go. Check it out!
PrintANY BERRY FRUIT LEATHER
- Prep Time: 10 minutes
- Total Time: 10 minutes
- Yield: 2 sheets of fruit leather 1x
- Category: Snack
Ingredients
- 6 cups berries
- 1/4 cup honey or pure maple syrup, or to taste
- 2 tbsp fresh lemon or lime juice
Instructions
- Preheat the oven to its lowest setting; 170°F is ideal, but no higher than 200°F. Line two baking sheets with parchment paper or silicone baking mats.
- In a blender, combine all the ingredients and blend until smooth. For completely smooth fruit leather, strain the puree through a fine-mesh strainer into a bowl, pressing on the solids to extract all the liquid.
- Pour the puree onto the lined baking sheets, make a loose rectangular outline around the pan with it, and then fill it in. Tilt the pan to form a thin layer (but not so thin that it’s transparent—if that happens, make your fruit leather smaller) that is as even as possible. Use a silicone spatula to make any final adjustments to the layer.
- Bake until the roll-ups are only very slightly tacky to the touch but peel fairly easily from the parchment, anywhere from 2 to 5 hours, depending on the type of fruit you use and its moisture content.
- Cut the roll-ups right through the parchment into strips (any size you like) and test one to see if it pulls off the paper easily. If it’s still a little tacky, return them to the turned-off oven (tape the handle to the door to remind yourself not to turn it on!) and leave for up to 5 hours more, or simply leave them to dry on the counter.
- Roll up the strips, tie them with kitchen string, and store in a sealed bag at room temperature for up to 2 weeks, in the refrigerator for up to 1 month, or in the freezer for up to 1 year.
Let Them Choose
When you let your kids choose what they want to eat, they feel important and like that they are being treated like an adult. Plus, what kid likes being forced to do something? Give your kids options – apples with peanut butter or celery with peanut butter? Or even have them choose their dinner with some guidelines inputted. Have your kids choose their favorite fruit, veggie, and protein to eat. There are plenty of options for them to choose from, giving you the opportunity to have some control while they make their ultimate decisions.
Posted in Replenish Your Health and tagged

